Input locations are where you would like the Sifter to look for files that need to be added to your library.
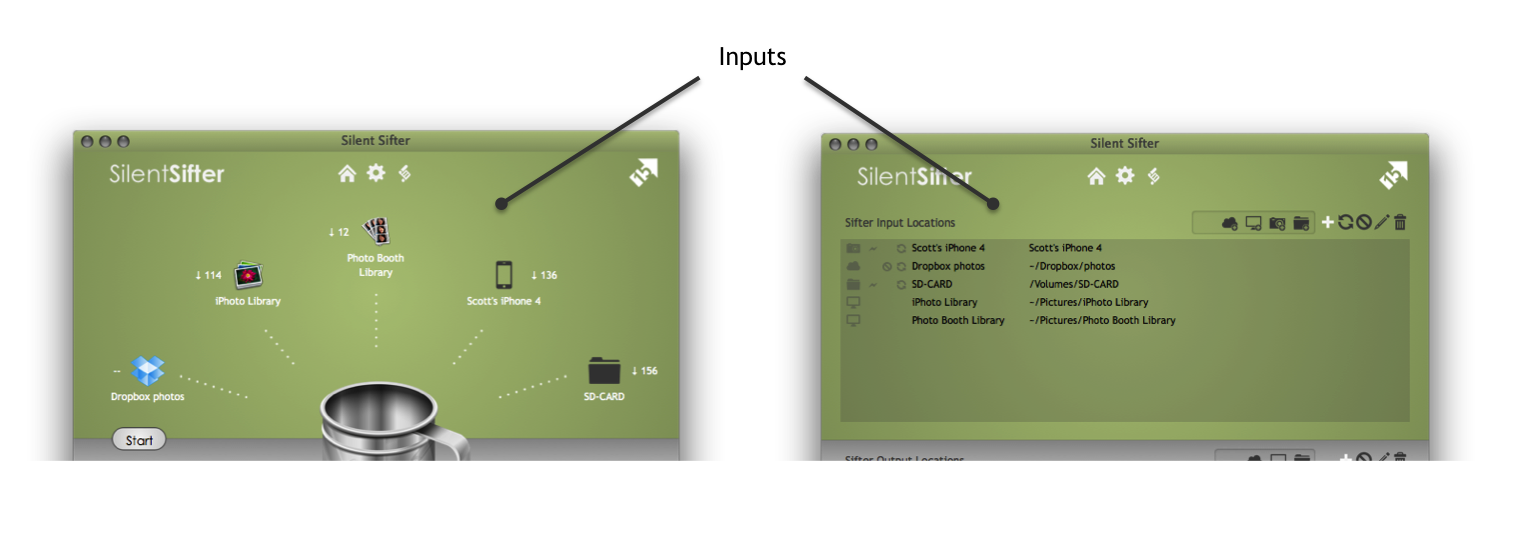
There are four types of Input Locations:
- Folders
- Cameras
- Desktop Applications (iPhoto, Photo Booth)
- Cloud Storage (Dropbox, Google Drive)
You can add as many input locations as you would like, however only the first 5 input locations will be displayed on the Home screen.
Note that only locations that are currently present will be displayed on the home screen; for example, cameras that are not connected to the computer or SD cards that are not inserted into the computer will not be displayed.
Folder Inputs
 |
Input Folders can be any location on your Mac that you can select with the Finder. This means you can select standard folders on your internal hard drive, CD / DVD drives, SD cards, USB hard drives, USB thumb drives, or network folders on remote machines. If you can access it with Finder, you can make it an input folder. |
Adding with Drag and Drop
To add a folder, drag the folder from Finder to the input area of the home screen or the input area of the configure screen. Drop it on the area, and it will automatically be added if it is recognized as a valid location.
Adding with Menus
To add a folder via menus, press the add folder button (which looks like a folder) above the Input Locations in the Add Input Locations tray, and choose the folder you would like to use as an Input Folder.
Camera Inputs
 |
Camera inputs can be any camera that is connected to your computer by a USB cable, and is able to download photos to the computer. For example, iPhones, iPads, iPod Touch, point and shoot cameras or SLRs. |
Adding by Connecting
To add a camera, connect the camera to your Mac via USB, and Silent Sifter will automatically detect and add the camera (unless you disable that feature in the Preferences). As soon as the camera is accessible, Silent Sifter will automatically add it. Cameras may not be accessible if they are not in ‘play’ mode, if they are not turned on, or they are locked. If your camera is detected as a ‘mass storage device’ by OSX, you will need to add it manually through the menus.
Adding with Menus
To add a camera via menus, press the add camera button (which looks like a camera) in the Add Input Locations tray, and the cameras that are connected to the computer will be listed, and you can select the cameras you would like added, and press the save button (which looks like a checkmark).
Removing Cameras
If there are cameras you would like to remove, you can do so by selecting the camera and pressing the remove button (‘X’).
SD Cards
Tip: Some SD Cards are recognized by OSX as a Camera Device, and will available to select form the Cameras menu item. Although this will work correctly if you choose to use it, we recommend configuring SD Cards are Folder inputs instead. By configuring an SD Card as a folder, you will be able to skip the file import step that Cameras are required to go through prior to sift, which will shorten your Sift time.
iPhoto Inputs
 |
You can use your managed iPhoto Library as an input location, and Silent Sifter will sift all photo Masters/Originals from the iPhoto library. As always, Silent Sifter will not modify the source files, and you will be able to select filters, etc for the input location. |
Referenced Photo Libraries
Note that referenced iPhoto Libraries are not supported by the iPhoto input location, but can be sifted by using a Folder input location, and selecting the folder(s) where iPhoto referenced photos/videos are stored.
Adding with Drag and Drop
To add an iPhoto library as an input location, drag the library from Finder to the input area of the home screen or the input area of the configure screen. Drop it on the area, and it will automatically be added if it is recognized as a valid location.
Adding with Menus
To add an iPhoto library as an input location via menus, press the add Desktop Application button (which looks like an iMac desktop computer) in the Add Input Locations tray, selecting iPhoto, and pressing the save button (which looks like a checkmark). You will then be asked to choose an iPhoto Library. Once you have selected a file, press ‘Choose’. If the file is recognized as an iPhoto Library, it will be added.
iPhoto Versions Supported
Versions: Silent Sifter has been tested extensively with iPhoto within iLife ‘11 (9.2.3 and 9.4.2), and should be backwards compatible with iPhoto within iLife ‘09 (8.x), and even iPhoto within iLife ’08 (7.x).
PhotoBooth Inputs
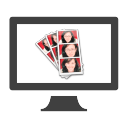 |
You can input photos taken in Photo Booth as an input, and Silent Sifter will sift all Originals as well as photos with effects from the Photo Booth library. As always, Silent Sifter will not modify the source files, and you will be able to select filters, etc. for the input location. |
Adding with Drag and Drop
To add Photo Booth, drag the Photo Booth Library from Finder to the input area of the home screen or the input area of the configure screen. Drop it on the area, and it will automatically be added if it is recognized as a valid location.
Adding with Menus
To add Photo Booth as an input location via menus, press the add Desktop Application button (which looks like an iMac desktop computer) in the Add Input Locations tray, selecting Photo Booth, and pressing the save button (which looks like a checkmark). You will be asked to choose a PhotoBooth Library file, select the file(s) you would like to add and press ‘Choose’.
PhotoBooth Versions Supported
Versions: Silent Sifter has been tested extensively with Photo Booth on OSX Lion and OSX Mountain Lion, and will work equally well with either version.
DropBox Inputs
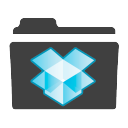 |
Dropbox Input Locations behave nearly identically to Input Folders. You will need to have the Dropbox client installed on your Mac and be able to navigate to it via the Finder. To download the Dropbox client, visit http://dropbox.com. Once you have the client installed and configured, you can select choose any Dropbox location on your Mac that you can select with the Finder. Silent Sifter assumes that Dropbox is located at the default location of ~/Dropbox, unless otherwise specified. |
Adding with Drag and Drop
To add a dropbox folder, drag the folder from Finder to the input area of the home screen or the input area of the configure screen. Drop it on the area, and it will automatically be added if it is recognized as a valid location.
Adding with Menus
To add a dropbox folder via menus, press the add cloud storage button (which looks like a cloud) above the Input Locations in the Add Input Locations tray, choose Dropbox, and then choose the Dropbox folder you would like to use as an Input Folder.
Google Drive Inputs
 |
Google Drive Input Locations behave nearly identically to Input Folders. You will need to have the Google Drive client installed on your Mac and be able to navigate to it via the Finder. To download the Google Drive client, visit http://drive.google.com. Once you have the client installed and configured, you can select choose any Google Drive location on your Mac that you can select with the Finder. Silent Sifter assumes that Google Drive is located at the default location of ~/Google Drive, unless otherwise specified. |
Adding with Drag and Drop
To add a Google Drive folder, drag the folder from Finder to the input area of the home screen or the input area of the configure screen. Drop it on the area, and it will automatically be added if it is recognized as a valid location.
Adding with Menus
To add a Google Drive folder via menus, press the add cloud storage button (which looks like a cloud) above the Input Locations in the Add Input Locations tray, choose Google Drive, and then choose the Google Drive folder you would like to use as an Input Folder.